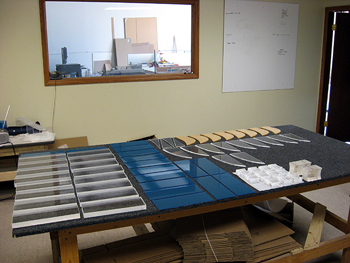
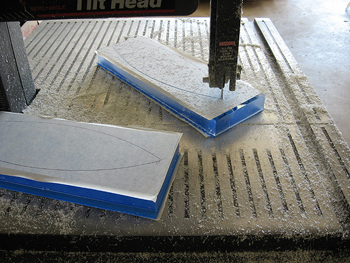
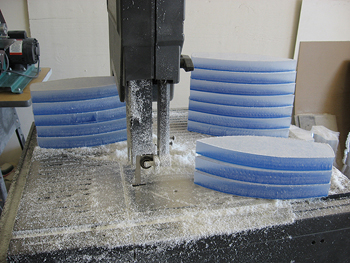
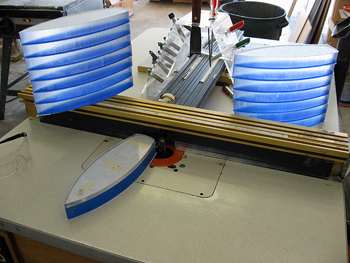
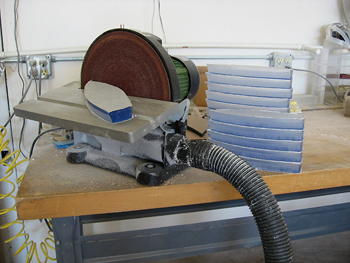
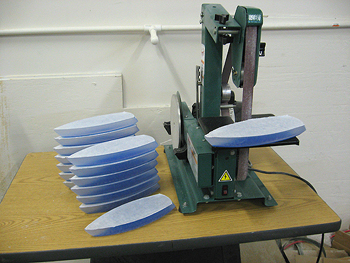
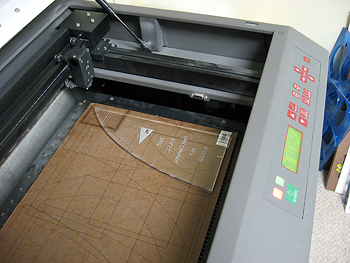
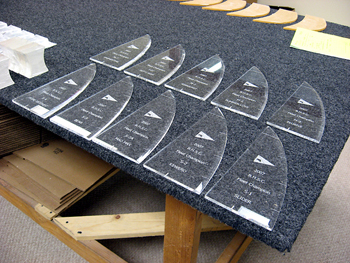
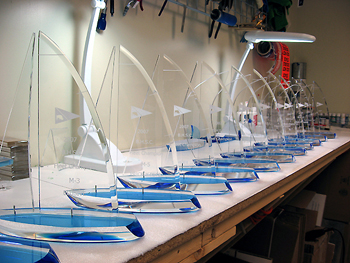
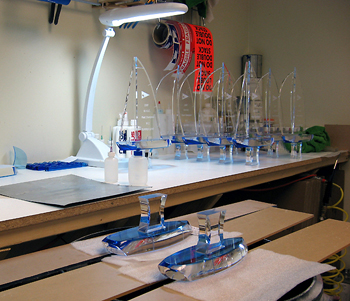
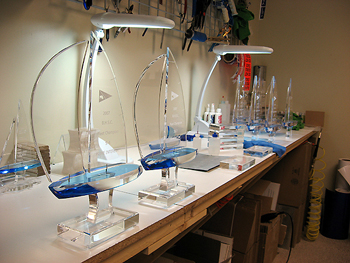
All of our trophies and awards are hand-crafted, one by one. Throughout their creation, our pieces go through lengthy processes each and every step of the way. Inspections are performed at the end of each process. The entire production process is very labor-intensive but we do not take short-cuts on creating the perfect pieces for you.

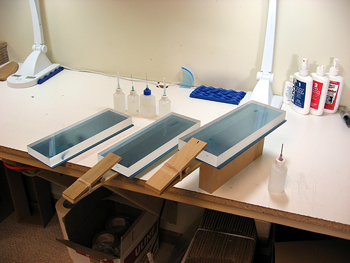
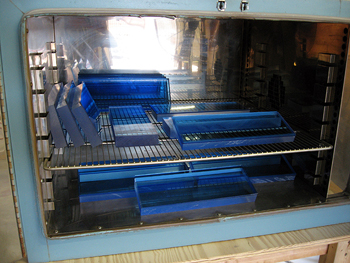
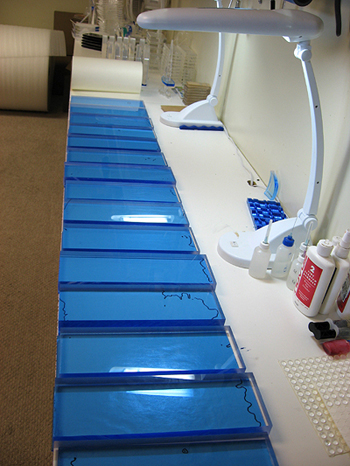
Below, you can follow one of our orders of acrylic sailboats through the production process to see just how we do it!

Step 1- Getting all of the separate pieces together. The mainsails, jibs, spinnakers, pedestals, and bases have already been created for this order.

Step 2- Laminating the clear and blue acrylics together. This is a critical process since getting any air bubbles in the center of the piece can ruin it.

Step 3- Annealing the pieces in the oven. We heat the pieces for a minimum of 8 hours, beginnining at 185 degrees and decreasing it incrementally thereafter.

Step 4- Once the pieces have adequately cooled, we mark any air bubbles that have formed. We then mask the pieces to prevent any damage when handling during the next steps.

Step 5- The pieces are now ready to work with. We then place the proper sailboat hull template onto the masking and trace around it, leaving a line to cut to.

Step 6- Using a band saw, we then cut out the hulls, making sure to leave a small amount of excess material beyond the line.

Step 7- The sailboat hulls are then ready to go to the router

Step 8- We then place our template back onto the piece with double-back tape, and by using specialized router bits, we can then route the hulls to the proper shape. A guide bearing at the top of the router bit ensures that our boat hulls match the template exactly.

Step 9- The hulls are ready to shape. Our first step in shaping is with a disk sander. Using certain angles during sanding, we get our boat hulls pretty close to the final shape.

Step 10- The next step is with our band sander. This allows us to smooth out any ridges that develop during the last process. We also use a finer grit of sandpaper to get the pieces closer to the finished product.

Step 11- The pieces are now ready to sand. Starting with a coarse sand paper (finer than that the band sander) we work the pieces until they are perfectly shaped. We then use a finer grit to sand them again. And repeat the process one more time.

Step 12- Using a series of different buffing wheels, we then polish the hulls until they become flawless. This step allows us to fully inspect the pieces for perfection. If necessary, we will take the pieces back to step 11 and repeat.

Step 13- In order to accept the sails, the hulls are then marked with a center line, and drilled at specific points. Next, we change drill bits and ream the holes to exacting sizes.

Step 14- Lasering the sails (We've previously drilled the sails pictured here). Once the sails are properly drawn up on the computer, the sails are set onto the laser table (one by one) and are then lasered to the customer's specifications. This usually includes logos, text, sail nummbers, and lines.

Step 15- The sails are then cleaned, polished and inspected before proceeding.

Step 16- Next, we insert stainless steel dowel pins into the sails and gently tap them into place. The pins allow the sails to be fully pivotable.

Step 17- The sailboats are now ready to accept the acrylic bases. By using a special acrylic cement, we cement the pedestal portion to the hull first, and allow it to cure for about an hour before proceeding.

Step 18- Next, using the same process, we cement the acrylic base to the pedestal. The completed sailboats then cure for at least 24 hours before being cleaned, sealed in plastic, and packaged for shipment.